
I’ve spent fifteen years on the wrong side of a failed run, and the pattern is always the same: the instrument gets blamed first, the method second, and the consumable last, when in my experience the consumable is the culprit more often than the two combined. This article is the field manual I wish someone had handed me in year one: what actually fails in daily analytical work, why it fails, and the concrete numbers and habits that keep it from failing again.
Most failures that reach me are not exotic. They cluster into a handful of categories: sample preparation losses, injection and sample handling problems, column degradation, detector drift, and calibration/QC breakdowns. The common thread is that each one starts as a small deviation that nobody catches because the system suitability passed and the sequence ran to completion. By the time the out-of-specification result lands on a lab manager’s desk, three days of data are suspect and the root cause has already been cleaned up or thrown away.
The practical answer is to treat every consumable as a specification, not a commodity. A vial is a piece of glass with a dimensional tolerance, a chemical surface, and a closure with a defined compression. A column is a packed bed with a defined particle size, pore structure, and pressure limit. When you buy on price alone and don’t track lot-to-lot variation, you’re running an uncontrolled variable through every method. The rest of this article walks through the failures I see weekly, with the numbers that matter.
Failure mode 1: autosampler vial and closure problems
What goes wrong
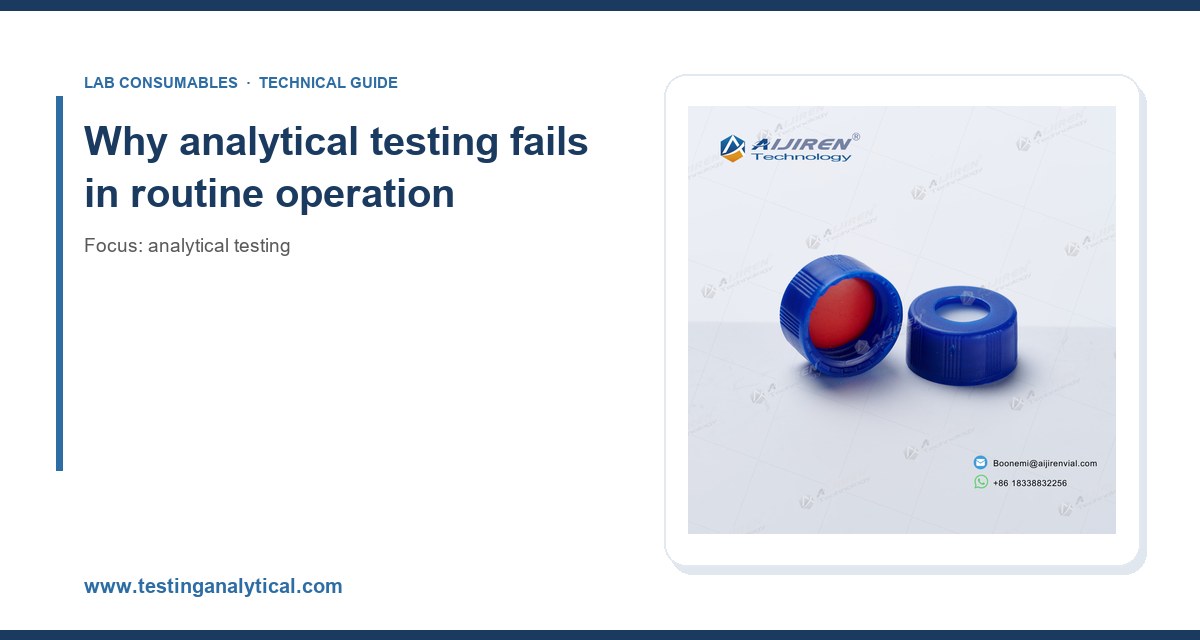
The classic failure is a septum that coring, leaking, or evaporating. A standard 11 mm crimp or snap-cap septum on a 2 mL, 12 x 32 mm vial is pierced by the needle dozens of times in a long sequence, and a low-quality silicone/PTFE septum will core within 5 to 10 punctures, dropping fragments into the vial and creating a partial injection or a blocked needle. I have pulled septa out of autosamplers that looked like they’d been attacked with a hole punch after a 200-injection sequence.
The second classic is evaporation and adsorption. A loosely crimped cap on a volatile analyte will lose signal over a 24-hour queue, and a poorly deactivated glass surface will adsorb basic compounds at low concentration. If your calibration curve looks fine at the start of the sequence and the last QC fails low, suspect the closure before you suspect the detector.
Root causes with numbers
- Septum durometer and thickness. A 1 mm silicone/PTFE septum with a shore hardness around 45 to 55 is the workhorse; softer septa seal better but core faster, harder septa resist coring but need more crimp force.
- Crimp force. Manual crimpers drift. A properly set crimper produces a cap that seats with a consistent cap height of about 5.5 to 6.0 mm on a 12 x 32 mm vial. Check with a go/no-go gauge every 500 caps, and re-set the crimper when it drifts.
- Vial dimensional tolerance. Neck OD and height matter to the autosampler gripper. Out-of-tolerance glass causes needle bending and “vial not found” errors. Buy from a supplier who publishes the tolerance, not just the catalog number.
- Glass chemistry. Type I borosilicate for pH-sensitive and basic analytes; a deactivated surface (often silanized) for compounds prone to adsorption. For trace-level work, use certified low-adsorption vials and verify with a carryover test.
Prevention
Match septum to needle count: for sequences over 100 injections, use a pre-slit septum or a higher-durometer PTFE-faced septum, and replace caps mid-sequence if the method allows. Keep a log of crimper gauge checks. And buy vials and closures as a matched system from a supplier who can give you a certificate of conformance. For a deeper selection guide, the HPLC vial resource covers dimensional and septum options in detail, and the lab vials catalog is where I point new lab managers who need to standardize across instruments. If you’re building a full consumables list, the chromatography consumables index is a reasonable starting point for cross-referencing part numbers.
Failure mode 2: column degradation and poor chromatography
What goes wrong
Peak shape degrades, retention shifts, and backpressure climbs. The three usual suspects are particulate fouling at the inlet, bonded-phase hydrolysis at extreme pH, and thermal damage from running above the column’s rated temperature. A C18 column rated to 60 °C run at 65 °C for a week will show a measurable loss in retention and a rise in silanol activity. A column run at pH 10 on a phase rated to pH 8 will lose its bonded phase faster than any customer wants to admit.
Root causes with numbers
- Particle size and pressure. A 1.8 µm UHPLC column generates roughly 3 to 4 times the backpressure of a 5 µm column at the same flow. If your pump maxes at 600 bar and you’re running a 1.8 µm column at 0.4 mL/min, you have no headroom for a partially plugged frit.
- pH range. Standard C18 phases are typically rated pH 2 to 8. Outside that, hydrolysis or dissolution of the silica support accelerates. Use a hybrid or polymeric phase if the method demands pH 10 or above.
- Temperature. Stay at least 5 °C below the rated maximum. Elevated temperature accelerates both hydrolysis and stationary-phase bleed.
- Guard columns. A guard column changed every 200 to 500 injections costs a fraction of a main column and catches most particulate fouling. I consider skipping it a false economy.
Prevention
Filter every mobile phase through 0.22 µm and every sample through 0.22 or 0.45 µm depending on particle size. Track backpressure trends against a baseline established on day one; a 15 percent rise over 100 injections is your early warning. Store columns in the recommended solvent, cap them, and never let one dry out. Manufacturer technical resources are worth reading before you push a method to its limits; Agilent’s chromatography consumables and column documentation and Restek’s technical resources both publish rated pH, temperature, and pressure limits that should go straight into your method file.
Failure mode 3: sample preparation losses
This is the quiet killer. Recovery is 85 percent instead of 95, and nobody notices until a proficiency test comes back marginal. The causes are adsorption to glassware, incomplete extraction, and volumetric error from temperature.
- Adsorption. Basic and polar analytes stick to untreated glass. Use deactivated glassware or plastic for those compounds, and run a recovery check on a new lot.
- Volumetric error. A volumetric flask calibrated at 20 °C used at 28 °C holds measurably more volume. For tight methods, equilibrate to room temperature before making to volume.
- Extraction efficiency. Shaking time, solvent ratio, and salt addition all matter. Document them and don’t let them drift between analysts.
- Filtration losses. Some analytes bind to certain membrane materials. Run a spike-and-recovery through the filter before adopting a new brand.
Standardized sample handling is the cheapest insurance you can buy. Thermo Fisher’s chromatography and sample handling pages are a useful reference for matching filters and vials to analyte chemistry. For a broader view of how sample prep fits into the full testing workflow, see analytical testing.
Failure mode 4: detector drift and calibration breakdown
What goes wrong
Baseline drift, rising noise, and calibration curves that no longer fit. In UV detectors, the usual cause is a lamp past its rated hours or a flow cell with air bubbles or deposits. In mass spec, it’s source contamination and drifting spray stability. In GC detectors, it’s column bleed and contaminated jets.
Root causes with numbers
- Lamp hours. Deuterium lamps are typically rated 2,000 to 4,000 hours. Track hours and replace at 80 percent of rating, not after failure.
- Flow cell cleanliness. A dirty cell raises noise and lowers linearity. Flush with appropriate solvent on a schedule and check baseline noise against the installation spec.
- Calibration frequency. Recalibrate whenever a consumable lot changes or a major maintenance event occurs. A curve built on a different column lot is not the same curve.
- QC acceptance. Set explicit criteria: for many methods, RSD ≤ 2 percent across six replicate injections and recovery within 90 to 110 percent. If QC fails, stop the sequence; don’t “run it again and see.”
Prevention
Build a maintenance calendar tied to run hours, not calendar months. Keep a log of lamp hours, flow cell flushes, and column changes. And train analysts to recognize the difference between a detector problem and a consumable problem; a drifting baseline with a fresh lamp and clean cell usually means the column is bleeding or the mobile phase is contaminated.
Failure mode 5: method and system suitability gaps
System suitability is not a formality. If resolution, tailing factor, and theoretical plates are trending toward the limit, the method is telling you something is degrading. Track these values over time and set action limits at 80 percent of the acceptance criterion. A tailing factor creeping from 1.2 to 1.8 over 300 injections is a column telling you it’s time to change the guard or the column.
Regulatory methods give you the framework. For environmental and waste work, the U.S. EPA SW-846 test methods spell out QC acceptance criteria that should be built into your sequence as pass/fail gates. Don’t rely on the analyst to eyeball the chromatogram.
Comparison checklist: consumable selection criteria with numbers
Use this when evaluating a new supplier or auditing an existing one. If a vendor can’t answer these, that’s your answer.
- Vial dimensions: 12 x 32 mm for 2 mL standard; tolerance on neck OD and height published and within ±0.2 mm.
- Septum: 1 mm silicone/PTFE, shore 45 to 55, rated for at least 50 punctures in a pre-slit configuration; certificate of conformance available.
- Crimp: cap height 5.5 to 6.0 mm; go/no-go gauge supplied; crimper calibration every 500 caps.
- Column: rated pH and temperature published; particle size and pore size matched to method; guard column available and affordable.
- Filters: 0.22 µm for UHPLC, 0.45 µm for HPLC; membrane material matched to analyte; low extractables certificate.
- Lot traceability: every consumable lot number recorded against the sequence that used it.
- Lead time: critical consumables stocked to at least two months of usage; single-source items flagged.
Troubleshooting checklist for the bench
When a run fails, work through this in order. It saves hours of instrument time.
- Check the vial and closure first. Look for coring, loose caps, and low fill volume. Replace the septum lot if in doubt.
- Check backpressure trend. A rise over baseline points to frit or guard column fouling.
- Check system suitability. Resolution, tailing, and plates against the method limits.
- Check the mobile phase. Freshly prepared, filtered at 0.22 µm, degassed, and within pH spec.
- Check the detector. Lamp hours, flow cell, baseline noise against installation spec.
- Check calibration and QC. RSD ≤ 2 percent, recovery 90 to 110 percent, and no drift across the sequence.
- Check the sample prep log. Extraction time, solvent lot, filtration, and temperature at volume.
- Document the fix. Lot number, action taken, and result. This is how you build a failure history that predicts the next one.
Recommendation
Standardize on a qualified consumables list and stop buying on price alone. For vials and closures, specify 12 x 32 mm Type I glass with a 1 mm silicone/PTFE septum, a matched crimper with a go/no-go gauge, and a certificate of conformance with every lot. For columns, record rated pH, temperature, and pressure limits in the method file and never run within 5 °C of the maximum. Filter everything at 0.22 µm, change guard columns every 200 to 500 injections, and replace detector lamps at 80 percent of rated hours. Set QC gates at RSD ≤ 2 percent and recovery 90 to 110 percent, and stop the sequence when they fail. If you need a single place to start standardizing part numbers, the analytical testing hub and the chromatography consumables index will get you most of the way there.
The takeaway is simple: most analytical failures are consumable failures wearing a disguise. Track the numbers, qualify your suppliers, and treat every vial, septum, and column as a specified component. Do that, and the instrument will stop taking the blame for problems it didn’t cause.