
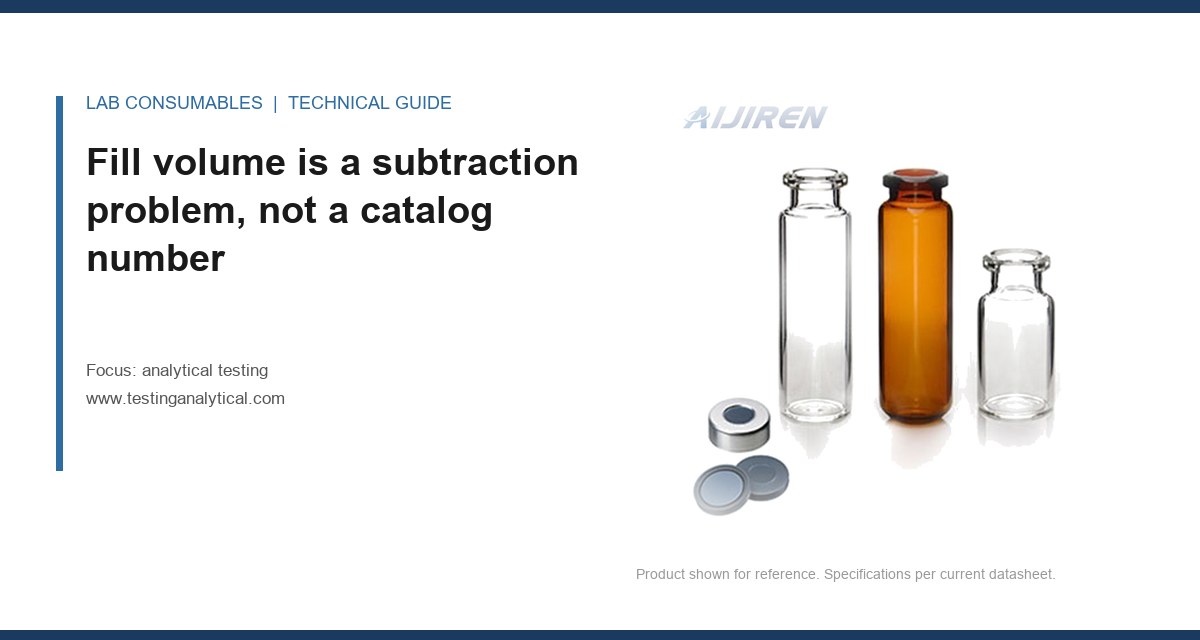
A 12 mm crimp vial with a 1.0 mm wall holds 1.5 mL when filled to the shoulder, but the autosampler needle only reaches the bottom 300 µL. Fill it to 400 µL and you have 100 µL of usable sample above the needle tip, minus the 8 µL the needle displaces on the way down. That arithmetic, not the catalog page, is what sizes analytical testing capacity for a given injection count. I watched a lab burn through 1,200 injections on a single 96-position tray because nobody did the subtraction: the run aborted at injection 812 with a needle that had been punching through a septum into air for the last 300 draws.
This guide is about the numbers behind that failure. How much liquid you actually need per injection, how many times a septum or a needle can survive, and how to convert a sample volume into a defensible injection count before you buy a single tray. If you are still choosing between vendors or polymer grades, that is a different page. Here the question is pure capacity: fill volume, dead volume, needle gauge, and puncture-life arithmetic.
Every vial datasheet quotes a nominal volume. A 2 mL HPLC vial is 2 mL to the brim, and the brim is not where your sample lives. The usable volume is nominal minus the dead volume below the needle reach minus the headspace you need for the septum to deform without pressurizing the vial.
Work the numbers for a standard 12 x 32 mm vial with a 9 mm screw thread (GPI 9-425). Nominal 2 mL. The shoulder starts around 1.5 mL. An autosampler drawing from a fixed needle depth of 2 mm off the bottom leaves roughly 150 to 250 µL of unreachable liquid depending on the vial’s internal floor geometry. That is dead volume, and it is not recoverable. If your method injects 10 µL and your autosampler needs a 100 µL draw to prime the loop, you need 110 µL per injection above the dead volume.
So the working equation is:
usable volume = fill volume − dead volume − (draw volume × injections) − safety margin
For a 1.5 mL fill, 200 µL dead volume, 110 µL per injection, and a 10% safety margin, you get about 11 injections before the needle starts pulling air. That is the real capacity of that vial. Not 2 mL. Not “about 100 injections.” Eleven.
Where the dead volume actually sits
Dead volume is not a single number. It is the sum of three regions:
- Floor geometry. Flat-bottom vials leave less than conical ones, but a flat floor with a 0.5 mm radius still traps liquid at the edge. Expect 80 to 150 µL on a flat-bottom 12 x 32 mm vial.
- Needle insertion depth. A needle set 1 mm off the bottom versus 3 mm changes the reachable volume by roughly 40 µL in a 12 mm ID vial. That is four injections on a 10 µL method.
- Meniscus and wetting. Polar solvents wet the wall and climb; nonpolar solvents bead. The difference in recoverable volume between water and hexane in the same vial is 15 to 30 µL.
If you are running a method with a 5 µL injection and a 50 µL loop draw, the dead volume dominates. That is why microvolume inserts exist. A 150 µL glass insert in a 12 x 32 mm vial cuts dead volume to about 25 µL and lets you run 8 to 10 injections from a 100 µL sample. If you are doing that math for a method with limited sample, look at the insert options on our HPLC vial pages before you assume a full-size vial will work.
Puncture life is a count, not a rating
Septum puncture life is the number of needle insertions a septum survives before it cores, leaks, or loses seal. Vendors quote it as a range, usually 50 to 100 punctures for a standard silicone/PTFE septum, 200 to 500 for a pre-slit septum, and 1,000+ for some specialty laminated septa. Those numbers are measured under specific conditions: a particular needle gauge, a particular injection speed, a particular temperature.
Change the needle gauge and the number moves. A 22-gauge needle (0.72 mm OD) punches a hole roughly 0.72 mm across. A 26-gauge needle (0.46 mm OD) punches a hole about 0.46 mm across, which is 60% of the area. Smaller hole, slower core growth, longer puncture life. But a 26-gauge needle is also more fragile and more prone to bending at the septum, and it draws more slowly, which matters if your autosampler has a fixed draw time.
The puncture-life arithmetic
Here is how I size a septum for a run:
punctures per septum = total injections ÷ septa per tray
If you have 500 injections in a batch and a 96-position tray, you need 6 trays minimum. If your septum is rated for 50 punctures, you need 10 septa per position over the run, which means you cannot reuse a septum across trays. You need a fresh septum per tray, or a pre-slit septum rated for 200+, or you accept that the last 200 injections on each tray are running on a compromised seal.
The failure mode is not dramatic. A cored septum drops a silicone plug into the vial, which shows up as an extra peak at 8 to 12 minutes on a C18 column. Or the septum stops sealing, the vial pressure drops between draws, and your peak area RSD climbs from 0.4% to 2.1% over the last third of the tray. I have seen both. The RSD drift is the one that gets missed, because the first 60 injections look fine.
| Septum type | Rated punctures | Needle gauge tested | Realistic batch use (96-position tray) | Failure signature |
|---|---|---|---|---|
| Silicone/PTFE, 1.0 mm | 50 | 22G | 1 tray, then replace | Ghost peak at 8-12 min, RSD drift >1.5% |
| Silicone/PTFE, 1.5 mm | 80 | 22G | 1 tray, replace at injection 70 | Slower core, same ghost peak |
| Pre-slit silicone/PTFE | 200 | 22G or 26G | 2 trays, replace at injection 180 | Leak at slit, pressure drop, area loss |
| Laminated PTFE/silicone/PTFE | 500 | 26G | 5 trays, replace at injection 450 | Delamination, particulate, baseline noise |
The table is a starting point, not a guarantee. The rated puncture count assumes a clean needle, a vertical insertion, and a septum that has not been sitting at 40 °C for a week. Heat softens silicone and shortens life. A septum stored above 30 °C loses roughly 20 to 30% of its rated punctures. If your autosampler tray sits near a column oven, that is your problem.
Needle gauge sets the puncture count and the draw time together
Needle gauge is the variable most labs ignore, and it couples directly to puncture life and to injection precision. A 22-gauge needle at 0.72 mm OD is the default for most HPLC autosamplers. A 26-gauge at 0.46 mm OD is common on GC and on low-volume HPLC methods. The Agilent chromatography consumables and columns documentation lists needle compatibility by autosampler model, and it is worth reading before you swap gauges.
Here is the coupling. A smaller needle punches a smaller hole, so puncture life goes up. But a smaller needle has a higher pressure drop, so the autosampler needs a longer draw time to pull the same volume. If your method has a fixed 1.0 s draw and you switch from 22G to 26G, you may pull 8 µL instead of 10 µL, and your calibration curve shifts. The fix is to extend the draw time, not to blame the needle.
Puncture-life math with gauge
Empirically, puncture life scales roughly with the inverse of needle cross-sectional area. Going from 22G (0.72 mm) to 26G (0.46 mm) cuts the hole area to about 41%, and I have seen puncture life roughly double on the same septum. That is a real gain, but it comes with a draw-time penalty and a bending risk. A 26G needle bent at the septum will scratch the vial wall and shed glass, which is a worse failure than a cored septum.
My rule: use the largest gauge your method tolerates, and size the septum for that gauge. Do not buy a 500-puncture septum and run a 22G needle through it 500 times. You will not get 500. You will get about 60, and the last 440 will be running on a seal that is already leaking.
Dead volume and fill volume have to be solved together
You cannot size fill volume without dead volume, and you cannot size dead volume without knowing the needle depth. The three are one equation. Most labs solve them separately and get a number that is wrong by a factor of two.
Take a concrete case. A lab running EPA method 8260 on a purge-and-trap system with a 5 mL sample volume. The vial is a 12 x 32 mm with a 1.5 mL fill. The autosampler draws 100 µL per injection. Dead volume is 180 µL. Usable volume is 1,500 − 180 = 1,320 µL. At 110 µL per injection (draw plus prime), that is 12 injections. The lab was planning 40 injections per vial because the method said “40 injections per sample.” The method did not say 40 injections from a 1.5 mL fill in a 12 x 32 mm vial. It said 40 injections from a 5 mL sample. The vial was the wrong size for the method.
That is a fill-volume error, and it is common. The fix is either a larger vial (a 20 mL headspace vial holds 15 mL usable) or a smaller injection volume. If you are running a method with a fixed injection volume, you need the larger vial. The U.S. EPA SW-846 test methods specify sample volumes by method, and the vial has to match the method, not the other way around.
Worked example: sizing a 500-injection batch
Here is the full arithmetic for a batch I sized last year. 500 injections, 10 µL each, 22G needle, 96-position tray, 12 x 32 mm vials, 1.5 mL fill.
- Draw volume per injection: 10 µL injection + 100 µL loop prime = 110 µL.
- Dead volume per vial: 180 µL (measured, not assumed).
- Usable volume per vial: 1,500 − 180 = 1,320 µL.
- Injections per vial: 1,320 ÷ 110 = 12 (rounded down).
- Vials needed for 500 injections: 500 ÷ 12 = 42 vials.
- Trays needed: 42 ÷ 96 = 1 tray (with 54 spare positions).
- Septum punctures per position: 12. Well under the 50-puncture rating. One septum per tray is fine.
Now change one variable. Same batch, but 26G needle and a 5 µL injection with a 50 µL prime.
- Draw volume per injection: 5 + 50 = 55 µL.
- Injections per vial: 1,320 ÷ 55 = 24.
- Vials needed: 500 ÷ 24 = 21 vials.
- Septum punctures per position: 24. Still under 50, but the 26G needle doubles the puncture life margin. One septum per tray is safe.
The lesson: the injection volume and the loop prime dominate the vial count. The septum rating is almost never the binding constraint unless you are reusing vials across trays. If you are, the arithmetic changes fast. Reusing a 50-puncture septum across two trays of 12 injections each gives you 24 punctures, which is fine. Reusing it across five trays gives you 60, which is over the rating, and the last tray is running on a compromised seal.
Field cases: two failures that were arithmetic, not equipment
Case 1: the RSD drift that was a fill-volume error
A contract lab running a 200-injection batch on a 2 mL vial with a 1.0 mL fill. The method used a 20 µL injection and a 200 µL loop prime. Dead volume was 200 µL. Usable volume was 800 µL. At 220 µL per injection, that is 3 injections per vial. The lab was planning 20 injections per vial. By injection 4, the needle was drawing air, the peak area dropped 40%, and the RSD climbed to 6.8%. The fix was a 4 mL vial with a 3 mL fill, which gave 12 injections per vial and brought RSD back to 0.6%. The measurement that identified it was the peak area trend across injections 1 through 6: flat, flat, flat, drop, drop, drop. That is a fill-volume signature, not a detector problem.
Case 2: the cored septum that looked like a column problem
A pharma QC lab running 300 injections on a 96-position tray with a standard silicone/PTFE septum rated at 50 punctures. They were reusing septa across trays. By tray 3, a ghost peak appeared at 9.2 minutes, and the lab spent two weeks replacing the column and the guard cartridge. The measurement that identified it was a septum puncture count: 300 injections ÷ 96 positions = 3.1 punctures per position per tray, times 3 trays = 9.4 punctures. That is under 50, so the septum should have been fine. But the septa had been stored at 35 °C for a month, which cut the rated life by 25%, and the autosampler needle was a 22G with a 0.72 mm hole. The real puncture count was 9.4, but the effective rating was 37, and the septa had been reused across 4 trays, not 3, because one tray was run twice. The fix was a pre-slit septum rated at 200 punctures and a 26G needle, which brought the effective puncture count to 9.4 against a 200 rating. The ghost peak disappeared. The column was never the problem.
A sizing checklist you can run before the next batch
Work through this in order. Each step depends on the one before it.
- Measure the dead volume. Fill a vial with a known volume, draw it down with the autosampler, and weigh the remainder. Do not use the catalog number. Expect 80 to 250 µL on a 12 x 32 mm vial.
- Confirm the draw volume. Injection volume plus loop prime. If the autosampler uses a fixed loop, the prime is fixed. If it uses a variable loop, the prime scales with the injection.
- Divide usable volume by draw volume. Round down. That is injections per vial.
- Divide total injections by injections per vial. That is vials needed.
- Divide total injections by positions per tray. That is punctures per position.
- Compare punctures per position to the septum rating. If punctures exceed 70% of the rating, use a pre-slit or laminated septum, or replace septa mid-tray.
- Check the needle gauge. A 26G needle roughly doubles puncture life but adds draw time. Verify the draw time is long enough for the gauge.
- Check storage temperature. A septum stored above 30 °C loses 20 to 30% of its rated life. If your tray sits near a column oven, derate the septum.
If you are sourcing the vials and septa for this arithmetic, the chromatography consumables catalog lists fill volumes and septum ratings by part number, and the lab vials pages have the dimensional drawings you need to confirm the dead volume. The Thermo Fisher chromatography and sample handling documentation is a useful cross-check on autosampler draw volumes, and Restek technical resources has puncture-life data by septum type that I have found reliable. For the broader picture on how these numbers fit into a testing program, see analytical testing at testinganalytical.com.
The decision rule: size the vial to the injection count, not the injection count to the vial
Start with the total injections and the draw volume, subtract the dead volume, and let the arithmetic pick the vial size and the septum. A 1.5 mL fill in a 12 x 32 mm vial is good for about 12 injections at a 110 µL draw. A 3 mL fill in a 4 mL vial is good for about 12 injections at a 220 µL draw. A 15 mL fill in a 20 mL headspace vial is good for about 60 injections at a 220 µL draw. Pick the vial that gives you the injection count you need with a 10% margin, then pick a septum rated for at least 1.5 times the punctures per position. If the arithmetic says you need a septum rated for 80 punctures and you have a 50-puncture septum in stock, the answer is not to run it anyway. The answer is to change the needle gauge, change the fill volume, or change the septum. The run will tell you which one you got wrong, but by then you have lost the batch.
References & further reading
Related resources from our lab consumables network:
- Analytical Testing at testinganalytical.com
- Hplc Vial at vialforhplc.com
- Chromatography Consumables at chromatographyconsumables.com
- Lab Vials at labvials.com
External references and standards: