
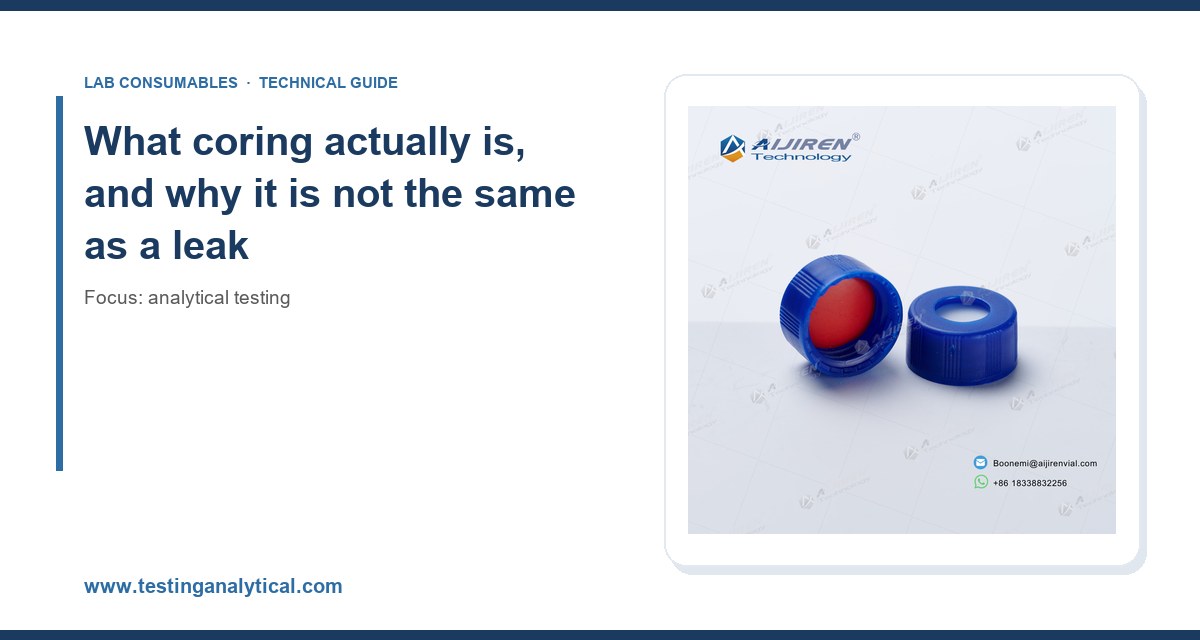
I have pulled more septa out of autosampler trays than I care to count, and the failure almost always looks the same: a neat circle of silicone sitting on top of the vial, a needle with a plug of rubber jammed in its bore, and a run that either aborted or, worse, injected a partial volume and reported a beautiful peak. Coring is the quiet killer of analytical sequences. It does not throw an error. It just changes your numbers. Over the years I have traced failed system suitability runs, out-of-trend results, and one very expensive re-validation to needle and septum damage that nobody noticed until the injections started missing. This piece is about that specific failure mode: what causes coring, how to spot it before it corrupts data, and how to specify septa, caps, and needles so it stops happening.
Coring is the mechanical removal of a plug of septum material by the injection needle. The needle punches through the septum, and instead of the elastomer stretching and resealing around the shaft, a disc of material is cut free. That disc either falls into the vial (contaminating the sample and sometimes blocking the needle later) or rides up the needle and lodges in the bore or on the exterior. Both outcomes are bad, but they fail differently.
A cored septum that drops material into the vial gives you extractables in your chromatogram. On a UV detector at 210 nm you will see ghost peaks that nobody can assign. On LC-MS you get ion suppression that drifts across the run. A needle with a plug in the bore gives you partial injections, low response, and rising carryover. Neither shows up as an instrument fault code. This is why coring belongs in the troubleshooting-and-field-fixes category and not in the instrument service log.
The distinction from a leak matters. A leaking septum (one that has lost reseal force) shows up as a pressure drop on a GC inlet or as evaporative loss on a long sequence. Coring is a physical cutting event. You can have a septum that seals perfectly and still cores, because coring depends on needle geometry, septum hardness, and how many times the same puncture point is hit.
The mechanics: needle geometry, septum hardness, and puncture count
Needle tip style drives everything
Not all HPLC or GC autosampler needles are created equal, and the tip is where coring starts. A beveled (sharp, point-style) needle with a 22-gauge shaft and a 12-degree bevel cuts cleanly through silicone and leaves a small, self-healing slit. A blunt or flat-tipped needle, common on some LC autosamplers and on many manual syringes, punches rather than slices. Blunt tips core far more aggressively because they compress the elastomer until it tears instead of parting it.
I standardize on 23-gauge beveled needles (0.64 mm OD) for LC autosamplers wherever the method allows, because the smaller diameter both reduces the puncture footprint and lowers the force needed to penetrate. For GC, the syringe needle is typically 23 to 26 gauge; a 26-gauge (0.46 mm OD) needle on a 0.5 µL syringe cores less but is more fragile and bends if the vial is misseated. There is a tradeoff, and you have to pick it deliberately.
Septum hardness and the 45 to 55 Shore A window
Silicone septa are specified by durometer, usually on the Shore A scale. The sweet spot for autosampler septa is 45 to 55 Shore A. Softer than about 40 Shore A and the septum extrudes into the needle hole and tears on withdrawal. Harder than about 60 Shore A and the needle has to push harder, which increases the coring force and accelerates needle dulling. A premium LC-MS grade silicone/PTFE septum sits around 50 Shore A with a PTFE face on the sample side to stop the silicone from leaching into the vial.
The PTFE facing is not cosmetic. Bare silicone sheds oligomers and cyclic siloxanes that show up as a forest of peaks on LC-MS and as siloxane background on GC-MS (the classic m/z 73, 207, 281 series). A PTFE-faced septum gives you the reseal performance of silicone with an inert sample contact surface. The catch is that the PTFE layer is thin, often 0.05 to 0.1 mm, and a blunt needle will punch a PTFE disc straight into the vial. Beveled needles are mandatory with PTFE-faced septa.
Puncture count: the number that nobody tracks
Here is the operational failure I see most often. A septum is rated for a finite number of punctures, and nobody counts them. A typical 9 mm silicone/PTFE autosampler septum is good for roughly 3 to 5 punctures at the same point before the reseal integrity degrades, and coring risk climbs sharply after that. On a 96-vial sequence where the autosampler returns to the same vial for multiple injections, that budget evaporates fast.
My rule: single-injection vials get one needle pass, and multi-injection vials get a fresh septum every 3 injections. If a method calls for 5 injections from one vial, use a septum rated for it or accept the coring risk. Track it on the sequence sheet. It takes ten seconds and saves reruns.
A decision checklist for septum and cap selection
This is the table I hand to new lab techs. It is not exhaustive, but it covers the decisions that actually cause coring in routine work.
- Needle tip: beveled for any PTFE-faced septum; blunt only with soft, unfaced silicone and only if the method is non-critical.
- Septum durometer: 45 to 55 Shore A. Ask the supplier for the durometer certificate, not just “silicone.”
- Septum thickness: 1.0 to 1.5 mm for 9 mm screw caps; thinner cores more easily, thicker needs more penetration force.
- PTFE facing: required for LC-MS and trace GC-MS; optional but preferred for HPLC-UV below 220 nm.
- Puncture budget: 3 to 5 punctures per septum at one point; replace sooner for multi-injection sequences.
- Cap torque (screw thread): 1.5 to 2.0 in-lb (about 0.17 to 0.23 N·m) for 9 mm screw caps. Over-torquing deforms the septum and increases coring; under-torquing leaks.
- Crimp caps: use a calibrated crimper; a 9 mm crimp should seat with the aluminum skirt flat, not crushed into the septum.
- Vial neck standard: 9 mm short-thread (GPI 9) or 11 mm crimp; match cap to neck, never force.
- Needle gauge: 23 gauge (0.64 mm) preferred; 26 gauge for small-volume GC syringes; avoid 21 gauge or larger on thin septa.
If you want a deeper selection reference, the HPLC vial resource covers neck finishes and cap compatibility, and lab vials has the dimensional specs for the common 9 mm and 11 mm formats. Getting the neck and cap matched is half the battle against coring.
How coring shows up in the data before it shows up on the bench
The insidious part of coring is that it corrupts results before anyone inspects a septum. Here are the signatures I watch for, in rough order of how often I see them.
Rising carryover and ghost peaks
A cored septum drops silicone or PTFE fragments into the vial. On the next injection those fragments sit in the needle or the loop and elute as late, broad, irreproducible peaks. If your blank injection after a high-concentration sample shows a peak at a retention time that matches nothing in your method, suspect particulate from a septum before you suspect the column. A quick check: inspect the vial under a loupe. Septum fragments are visible as small translucent flakes.
Falling response and rising %RSD
A partially plugged needle delivers a smaller and less reproducible volume. System suitability %RSD on peak area that was 0.8% creeps to 2.5% over a sequence. USP <621> allows up to 2.0% RSD for five replicate injections (and tighter for some methods), so a drift from 0.8% to 2.5% will fail you without any obvious cause. I have seen labs chase this into the detector, the lamp, and the injector before someone pulled the needle and found a rubber plug.
Injection port pressure spikes on GC
On GC, a cored septum that sheds material into the inlet liner can partially occlude the liner or the column inlet, producing pressure spikes and retention time shifts. The classic tell is a sudden shift in retention time for early-eluting peaks with no change in oven program. Replace the septum and the liner, and the shift resolves.
Field fixes: what to do when you are already coring
When a sequence starts failing mid-run, here is the sequence I run through, fastest checks first.
- Stop the sequence. Do not let it keep injecting. Every additional injection from a cored vial adds contamination.
- Pull the needle and inspect the bore under a loupe or low-power microscope. A plug of elastomer is unmistakable.
- Replace the needle and the septum on the affected vial. If the needle is beveled and undamaged, you can sometimes clear it with a fine wire, but I replace it. A straightened needle is a bent needle.
- Check cap torque with a torque driver on a spare vial. If it is over 2.0 in-lb, your capper or your hand is the problem.
- Verify needle alignment to the vial center. A needle that enters off-center hits the septum edge and cores every time. Autosampler alignment is a 15-minute check and worth doing monthly.
- Inspect the septum batch. If multiple vials from one lot core, the lot may be out of durometer spec. Request the certificate and, if needed, a durometer check.
- Re-run a system suitability check before releasing any results from the affected sequence.
If you need the general workflow context, the analytical testing overview and the chromatography consumables catalog are useful starting points for sourcing replacement septa and needles that meet the specs above.
Why coring is worse on LC than on GC (and vice versa)
On GC, the inlet septum is a single component that sees every injection, and it is designed to be replaced often. Inlet septa are typically 11 mm molded silicone, rated for 50 to 100 injections at typical inlet temperatures of 250 to 300 °C, and they degrade by bleeding and by losing reseal force rather than by coring, because the syringe needle is small and the septum is thick. Coring on GC is mostly a vial-septum problem, not an inlet-septum problem. The inlet septum fails by leaking and bleeding; the vial septum fails by coring.
On LC, the vial septum is the whole story. There is no inlet septum to absorb the wear. Every puncture hits the same 9 mm cap, and the autosampler needle is larger (23 gauge typical) with a bevel that either cuts or tears depending on tip condition. LC is also where the PTFE facing matters most, because LC-MS sees every siloxane the silicone sheds. This is why I am stricter about LC vial septa than about GC inlet septa, and why I specify beveled needles and PTFE facing as non-negotiable on any LC-MS method.
For reference data on inlet septum lifetimes and needle specifications, the Restek technical resources and the Agilent GC columns and accessories pages publish injection-count guidance that is worth reading against your own sequence lengths. The Thermo Fisher chromatography and sample handling documentation also covers needle and septum compatibility for their autosamplers.
Prevention: the specifications I write into every method
Coring is preventable, and prevention is cheaper than reruns. These are the parameters I put into method documentation and into purchasing specs so the problem does not recur when a new lot arrives.
Septum and cap specification
- Durometer: 45 to 55 Shore A, certificate required per lot.
- Construction: silicone body with 0.05 to 0.1 mm PTFE facing on the sample side.
- Thickness: 1.0 to 1.5 mm for 9 mm screw caps.
- Puncture rating: documented by the supplier; reject lots without it.
- Cap torque: 1.5 to 2.0 in-lb, verified with a torque driver at line setup and every 50 vials.
Needle and autosampler specification
- Gauge: 23 gauge (0.64 mm OD) for LC; 26 gauge for small-volume GC syringes.
- Tip: beveled, 12-degree, inspected at each needle change.
- Alignment: needle centered to vial within 0.5 mm; checked monthly.
- Replacement interval: needle replaced every 500 injections or at first sign of plugging, whichever comes first.
Sequence design
- Single-injection vials for anything critical; multi-injection only with a septum rated for the count.
- Fresh septum for every 3 injections from the same vial.
- Blank injection after every high-concentration sample to catch carryover early.
- System suitability check at the start and end of every sequence, with %RSD tracked across the run.
What the standards actually say (and do not say)
USP <621> sets system suitability limits, including a 2.0% RSD ceiling for replicate injections in most chromatographic methods, and USP <1058> covers analytical instrument qualification. Neither standard tells you to count septum punctures. That is operational discipline, not a compendial requirement. Similarly, U.S. EPA SW-846 methods specify sample handling and preservation but leave the vial and septum choice to the lab. The result is that coring falls through the cracks between the method and the consumable, and the lab has to own it.
My recommendation is to write septum and needle specifications into your standard operating procedures as if they were method parameters, because functionally they are. A method that calls for 5 injections from a single vial with a septum rated for 3 punctures is not a validated method in practice, no matter what the validation report says.
Takeaway
Coring and needle damage are consumable and handling failures, not instrument failures, and they corrupt data silently. Specify septa at 45 to 55 Shore A with a PTFE facing, use beveled 23-gauge needles, torque 9 mm screw caps to 1.5 to 2.0 in-lb, and cap every vial at 3 punctures before replacement. Inspect the needle bore at each change, check autosampler alignment monthly, and watch %RSD and carryover as your early-warning signals. The labs that treat the septum as a method parameter rather than a commodity are the ones that stop chasing phantom detector faults and stop re-running sequences at 11 p.m.
References & further reading
Related resources from our lab consumables network:
- Analytical Testing at testinganalytical.com
- Hplc Vial at vialforhplc.com
- Chromatography Consumables at chromatographyconsumables.com
- Lab Vials at labvials.com
External references and standards: