
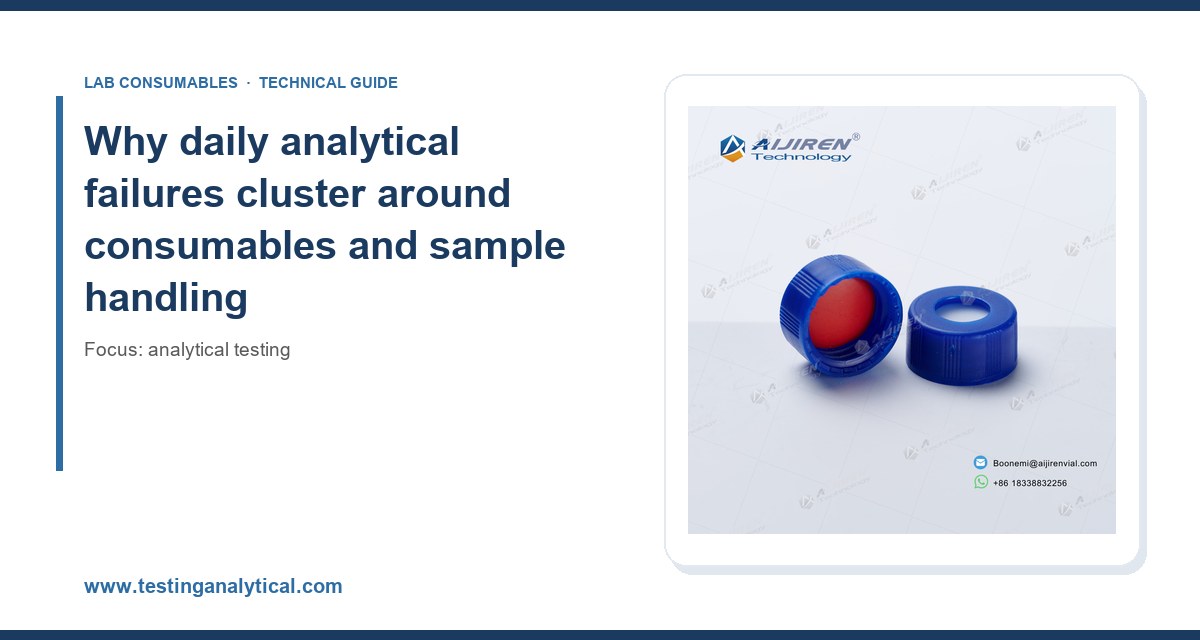
I still remember the Monday morning when our QC lab lost an entire sequence of 96 samples because the autosampler kept erroring out at position 43. The root cause turned out to be a single vial with a septum that had been punctured so many times the needle was coring rubber into the inlet. We spent four hours chasing a ghost in the method before anyone looked at the vial. That experience, and about a dozen like it over the years, is why I now treat “analytical testing failures” as a maintenance and consumables problem first, and a chemistry problem second.
Most of the failures I see in daily analytical testing are not exotic. They are the same eight or nine root causes repeating across labs: contaminated mobile phase, worn septa, leaking fittings, drifting detectors, bad pipette technique, column fouling, sample prep errors, and calibration drift. The chemistry is usually fine. The plumbing, the consumables, and the habits are what break. This article walks through the failures I have personally fixed, with the numbers and part specifications that matter.
When a method validates cleanly and then fails in routine use, the failure is almost always in the interface between the sample and the instrument. That interface is the vial, the septum, the cap, the syringe, the tubing, and the fitting. These are the parts that get handled, torqued, pierced, and heated hundreds of times a week. They wear out on a schedule, and if you do not track that schedule, they fail on their own schedule instead of yours.
I tell new lab managers the same thing: your instrument is probably more reliable than your consumables. A modern HPLC pump will hold flow precision to ±0.1% RSD for years. A 9 mm silicone/PTFE septum will start coring after roughly 50 to 100 punctures depending on needle gauge and gauge quality. If you run 96 injections a day on the same vial position, you are replacing septa weekly whether you planned to or not. The failure mode is predictable, which means it is preventable. For a broader view of how these consumables fit into a testing program, the resources at Analytical Testing at testinganalytical.com cover the workflow side well.
Failure 1: septum coring and autosampler errors
What it looks like
The autosampler throws a “needle obstruction” or “vial not found” error at random positions. You see ghost peaks in blank injections. The injection volume reproducibility drifts, and peak areas start showing RSD above 2% on a method that used to hold 0.5%. Sometimes you find a small rubber disc floating in the vial.
Root cause
Septum coring. Every puncture removes a small plug of silicone. Pre-slit septa reduce this, but they also allow evaporation and are not appropriate for volatile analytes. The bigger issue is needle quality and septum durometer. A dull or bent needle cores a septum far faster than a sharp one. A cheap septum with a thin PTFE facing will delaminate after 30 to 40 punctures under heat.
Prevention
- Use 9 mm screw-thread vials with PTFE/silicone septa rated for at least 100 punctures for standard autosamplers. For GC headspace, use PTFE/silicone/PTFE laminated septa rated to 125 °C.
- Replace septa on a fixed schedule, not on failure. I use one septum per 50 injections as a hard rule for critical methods.
- Inspect needles weekly under a loupe. A bent tip is a coring machine.
- For long sequences, load fresh vials rather than re-piercing the same position. The HPLC vial selection guide at vialforhplc.com has a compatibility table worth keeping at the bench.
Failure 2: mobile phase contamination and ghost peaks
What it looks like
Gradient blank runs show peaks you did not inject. Retention times drift by 0.2 to 0.5 minutes across a sequence. Baseline rises during the organic ramp. The detector lamp energy is fine, the column is new, but the chromatography looks like someone else’s method.
Root cause
Three culprits, in order of frequency: water that has been sitting in a plastic carboy growing bacteria, buffer salts precipitating in the lines, and a degasser that has failed quietly. I have seen a 0.1% bacterial contamination in HPLC-grade water produce ghost peaks at 210 nm that look exactly like a real analyte. I have also seen 20 mM phosphate buffer at pH 6.8 precipitate inside a check valve after two days of sitting, which then cost a $600 pump repair.
Prevention
- Use fresh LC-MS grade water. Do not store it in a plastic carboy for more than 48 hours. Glass or a dedicated stainless reservoir with a nitrogen blanket is better.
- Filter all mobile phases through 0.22 µm nylon or PTFE membranes. Filter buffers after pH adjustment, not before.
- Flush buffer lines with 10% to 20% organic before shutdown. Never leave a phosphate buffer sitting in a pump overnight.
- Check degasser performance monthly. A failing inline degasser shows up as baseline noise above 0.5 mAU on a UV detector.
The Thermo Fisher chromatography and sample handling resources have good guidance on solvent compatibility and filtration, and the chromatography consumables catalog at chromatographyconsumables.com lists the filter and degasser parts by instrument model.
Failure 3: fitting leaks and dead volume
What it looks like
Peak tailing that gets worse over a week. A drop of liquid under the column inlet. Retention time shifts of 0.1 to 0.3 minutes that disappear when you re-tighten a fitting. Split peaks on early-eluting compounds.
Root cause
Fittings that are over-tightened, under-tightened, or reused past their life. PEEK fittings that have been re-torqued more than three times lose their seal. Stainless fittings with a damaged ferrule will leak at 0.1 µL/min, which is invisible but enough to create dead volume and peak distortion. I have also seen a 1/16 inch fitting cross-threaded into a 10-32 port, which is a $200 mistake every time.
Prevention
- Torque fittings to the manufacturer spec. For most 1/16 inch stainless fittings, that is hand-tight plus one-quarter turn. For PEEK, hand-tight plus one-eighth turn is enough. Use a torque wrench if you are doing more than a dozen a week.
- Replace ferrules every time you move a fitting. They are not reusable.
- Check for leaks with a dry tissue at every connection after a column change. A wet spot in 30 seconds is a leak.
- Use color-coded fittings by port size to prevent cross-threading. 10-32 and 1/4-28 are the two you will meet most often.
For a full list of fitting and column hardware specifications, the Agilent GC columns and accessories pages are a solid reference even if you run another vendor’s instrument.
Failure 4: column fouling and the “it worked last week” problem
What it looks like
Backpressure climbs from 80 bar to 200 bar over a month. Peak shape degrades on late-eluting compounds. Resolution between two critical pairs drops below 1.5. You inject a standard and get 70% of the expected area.
Root cause
Column fouling comes from three places: particulate from insufficient sample filtration, strongly retained matrix components that never elute, and pH or temperature excursions that strip the stationary phase. A C18 column run at pH 9 with a silica-based support will lose bonded phase and show a rising silanol activity within weeks. A column run above its temperature limit (typically 60 °C for standard C18, 90 °C for some hybrid particles) will do the same.
Prevention
- Filter every sample through 0.22 µm or 0.45 µm before injection. Use a guard column and replace it every 100 to 200 injections.
- Stay within the column’s pH range. For standard silica C18, that is pH 2 to 8. For hybrid particles, pH 1 to 12.
- Run a strong wash after every sequence: 80% to 90% organic for 10 column volumes.
- Track backpressure in your CDS. A 10% rise week over week is your early warning.
The technical notes at Restek include column care and regeneration procedures that have saved more than one column in my lab.
Failure 5: pipetting and sample prep errors
What it looks like
Calibration curves that are linear but biased low. Recoveries at 85% when the method says 95% to 105%. Duplicate injections that disagree by 5% on a method that should hold 1%. A standard that reads 10% low only on Mondays.
Root cause
Pipette calibration drift, bad technique, and volumetric flask errors. A pipette that has drifted by 2% at the 100 µL setting will bias every standard you make. A pipette tip that does not seal properly will aspirate air and deliver 3% to 5% low. A flask that has been autoclaved too many times will change volume by 0.1% to 0.3%. These errors compound through a dilution series.
Prevention
- Calibrate pipettes gravimetrically every 6 months and after any drop. Acceptance is ±1% at nominal volume for a Class A pipette.
- Use the correct tip for the pipette. A mismatched tip is a 3% to 5% error every time.
- Pre-wet the tip three times before delivery. This alone fixes most low-bias problems.
- Use Class A volumetric glassware and replace flasks that show visible etching or chips.
Sample prep is where I see the most avoidable failures, and it is also where a small investment in the right vials and caps pays off. The lab vials catalog at labvials.com has a good selection of low-binding and silanized vials for sensitive analytes.
Failure 6: detector drift and lamp aging
What it looks like
Baseline drift of 1 to 2 mAU/hour on a UV detector. Lamp energy below 50% of the original value. Signal-to-noise that has halved over six months. Wavelength accuracy off by 1 to 2 nm on the holmium oxide test.
Root cause
Deuterium lamp aging is the most common. A lamp rated for 2,000 hours will lose 30% to 50% of its energy by hour 1,500. The drift is gradual, so you do not notice until a method fails. The second cause is a dirty flow cell. A 1 µL flow cell with a protein film will show baseline noise and a loss of sensitivity.
Prevention
- Log lamp hours and replace at 80% of rated life, not at failure.
- Run a holmium oxide wavelength accuracy check monthly. Acceptance is ±1 nm.
- Flush the flow cell with 50% methanol weekly. If you run proteins, use a 10% nitric acid wash followed by water.
- Keep a spare lamp on the shelf. The day your lamp dies is not the day to order one.
Failure 7: calibration drift and QC failures
What it looks like
Continuing calibration verification (CCV) fails at ±15%. Method blanks show contamination. A proficiency test comes back flagged. The curve looks fine but the low end is biased.
Root cause
Calibration standards that have degraded, a blank that is contaminated, or a curve that has been forced through zero when it should not be. I have seen a 1,000 ppm stock standard lose 20% of its concentration after three months in a fridge because the cap was not tight. I have also seen a calibration curve forced through the origin that biased the low end by 30%.
Prevention
- Prepare fresh standards from a certified stock. Track expiry dates on the bottle, not in your head.
- Run a CCV after every 10 samples and at the end of the sequence. Acceptance is ±15% for most methods, ±20% at the LOQ.
- Never force a curve through zero unless the method requires it. Use a weighted 1/x or 1/x² fit for trace analysis.
- Follow the method exactly. For environmental work, U.S. EPA SW-846 test methods specify the QC acceptance criteria that most labs are audited against.
Failure 8: temperature and environmental control
What it looks like
Retention times that shift with the weather. Column oven temperature off by 2 °C. Refrigerated autosampler samples that warm up during a long sequence. A method that passes in January and fails in July.
Root cause
HVAC failure, a column oven that needs recalibration, or a sample compartment that is not actually cold. A 2 °C column oven error changes retention by 1% to 2% for many methods. A sample compartment set to 4 °C that actually runs at 12 °C will degrade labile analytes within hours.
Prevention
- Calibrate column ovens every 6 months with a calibrated thermocouple. Acceptance is ±1 °C.
- Log sample compartment temperature continuously. A $40 data logger has saved more sequences than any service contract.
- Keep the lab within 18 to 25 °C and 20% to 60% RH. Document it.
A practical troubleshooting checklist
When a method fails, work through this list in order. It is the same list I use, and it resolves about 80% of daily failures before anyone calls service.
- Check the vial and septum first. Punctures, coring, cap torque (hand-tight, not wrench-tight), fill volume (at least 200 µL for a 300 µL insert).
- Check the mobile phase. Age, filtration (0.22 µm), pH, degassing, and whether the buffer was made this week.
- Check for leaks. Dry tissue at every fitting. Torque to spec. Replace ferrules.
- Check backpressure. Compare to the last logged value. A 10% rise is a warning.
- Check the detector. Lamp hours, energy, wavelength accuracy, flow cell cleanliness.
- Check calibration. Standard age, curve fit, CCV results, blank contamination.
- Check temperature. Oven, sample compartment, and room. Log it.
- Check the sample prep. Pipette calibration, tip fit, volumetric glassware, dilution math.
Decision checklist: when to replace vs. when to troubleshoot
Not every problem deserves a teardown. Here is the decision rule I use, with concrete thresholds.
- Replace the septum if it has more than 50 punctures, shows visible coring, or the autosampler has errored twice on the same position.
- Replace the vial if it has scratches, a chipped neck, or has been through more than three freeze-thaw cycles.
- Replace the column if backpressure is more than 150% of the new-column value after regeneration, or resolution on a critical pair is below 1.5 after a guard column change.
- Replace the lamp at 80% of rated hours or when energy drops below 50% of the original value.
- Replace fittings and ferrules every time you move a connection. They are consumables, not hardware.
- Troubleshoot rather than replace when the failure is new, the instrument has not been serviced recently, or the failure appeared after a method change. Those are usually configuration problems, not worn parts.
What I recommend
Build a consumables replacement schedule and put it on the wall. Track punctures, lamp hours, column injections, and fitting torque cycles the same way you track calibration. The labs I have seen run cleanly for years are not the ones with the newest instruments. They are the ones that replace a 9 mm septum at 50 injections, change ferrules at every column swap, filter every mobile phase through 0.22 µm, and log backpressure weekly. The chemistry takes care of itself when the plumbing and the consumables are under control. If you want a starting point for the consumables side, the catalogs at chromatographyconsumables.com and labvials.com cover most of what you will need, and the method resources at testinganalytical.com will help you map the schedule to your specific methods.
Most analytical testing failures are not mysteries. They are maintenance items that were not on a schedule. Fix the schedule first, and the failures stop being common.
References & further reading
Related resources from our lab consumables network:
- Analytical Testing at testinganalytical.com
- Hplc Vial at vialforhplc.com
- Chromatography Consumables at chromatographyconsumables.com
- Lab Vials at labvials.com
External references and standards: