
I still remember the Monday morning when a client’s QC lab sent over a batch of failed system suitability results. The RSD on six replicate injections of caffeine was 3.8%, well over the 2.0% limit in their SOP. They had already replaced the column, remade the mobile phase twice, and were about to blame the instrument. It took twenty minutes with a flashlight to find the real cause: a partially seated inlet liner, about 1.5 mm off the bottom of the injection port, letting sample vapor leak past the seal. That kind of failure happens everywhere, every week. Most analytical testing failures I have investigated over fifteen years are not exotic. They come from small, predictable things that nobody wrote down in the SOP.
This article walks through the failure modes I see most often in daily analytical work, the root causes behind them, and the specific preventive measures that actually work. If you run a lab or buy for one, this is the checklist I wish every new analyst got on day one.
In my experience, roughly 70% of reported analytical failures trace back to consumables, sample handling, or method setup, not to the detector or pump. The instrument gets blamed because it is the expensive thing on the bench. But when you dig into the data, the root cause is usually a vial, a septum, a liner, a gas tank, or a buffer made the week before by someone who has since gone on holiday.
That has a practical consequence for procurement. If you are buying analytical testing consumables on price alone, you are optimizing the wrong variable. A £0.40 vial that causes one repeat run costs you far more than a £0.90 vial that does not. I have run the numbers many times: a single failed batch on an HPLC-UV method can burn 4 to 8 hours of analyst time plus instrument time, easily £400 to £800 in loaded cost. That pays for a lot of upgraded septa.
Failure 1: autosampler vial and septum problems
This is the number one source of “mystery” chromatography failures. It also happens to be the cheapest to fix.
Septum coring and particle injection
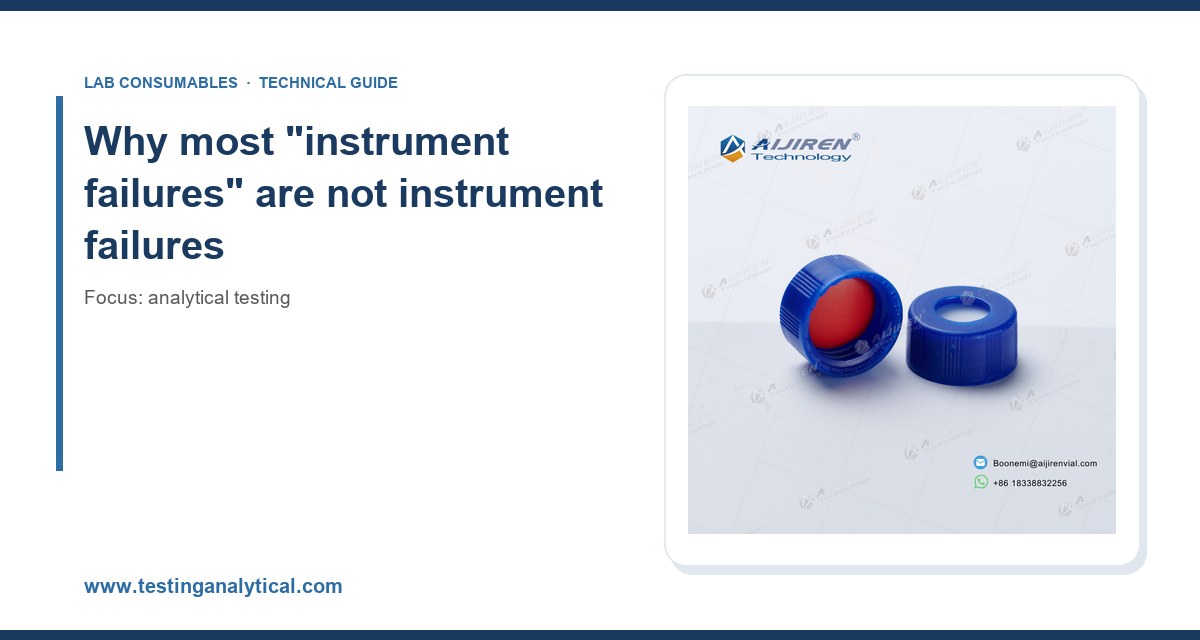
Standard silicone/PTFE septa on a 9 mm screw-thread vial will start coring after a certain number of needle punctures. For a typical 23-gauge autosampler needle, I start seeing visible cores and particulate in the vial after 8 to 12 punctures on a low-cost septum. Pre-slit septa and higher-grade silicone/PTFE laminates push that to 20 to 30 punctures before failure. Cores end up on the column inlet frit, cause partial blockage, and show up as rising back pressure and split or tailing peaks. If your back pressure creeps up by 15 to 20 bar over a sequence, suspect the septum before the guard column.
Crimp versus screw thread
Crimp-top vials (11 mm) give the most consistent seal and the lowest evaporation rate, but they need a properly calibrated crimper. I have seen crimpers drift by 0.2 to 0.3 mm in jaw height over a year of use, which is enough to produce leaky seals and evaporation losses on long sequences. Screw-thread vials (9 mm) are more forgiving and easier to reseal, but the caps must be tightened to a consistent torque. In practice, hand-tightening to roughly 0.8 to 1.2 N·m gives a reliable seal without deforming the septum. If you use an electronic torque tool, set it and leave it.
Vial selection criteria
- Glass grade: USP Type I borosilicate for pH-sensitive or trace-metal work. Type III is fine for routine organics but will leach at high pH.
- Volume: 2 mL standard, 1.5 mL for limited-sample work, 300 µL inserts for micro-volume methods.
- Septum: silicone/PTFE for aqueous and most organic; butyl for volatile organics where silicone permeability matters.
- Certification: request a certificate of analysis with a ≤5 ppm extractables spec if you run trace analysis.
For a fuller breakdown of vial formats and compatibility, the HPLC vial resource is a sensible starting point. If you are sourcing across a whole method, the chromatography consumables catalog covers the rest of the flow path.
Failure 2: injection port and liner problems in GC
GC inlet failures are the second-biggest cause of bad data I deal with. The inlet is a hot, dirty, high-activity environment, and it degrades quietly.
Liner deactivation loss
A deactivated glass liner loses its silanization over time, especially with active analytes like phenols, amines, and pesticides. Once the liner is active, those compounds adsorb on the glass and you get tailing peaks, low recovery, and poor linearity at low concentrations. I replace liners after 100 to 200 injections for dirty matrices and after 300 to 500 for clean ones. Do not wait for a failure. Log the injection count and change on schedule.
Septum purge and carrier gas leaks
The septum purge flow should be 3 to 5 mL/min. If it is set too low, septum bleed products enter the column and you get ghost peaks. If it is set too high, you waste carrier and can destabilize the inlet pressure. Check it with a flow meter at commissioning and after any maintenance. For leaks, a simple pressure-decay test at the inlet will find a bad septum or a loose column nut in under a minute.
O-ring and ferrule compression
Graphite ferrules on a 1/16 inch column nut should be tightened to roughly 1/8 to 1/4 turn past finger-tight. Over-tightening crushes the ferrule and can crack the column nut or damage the inlet base. I have replaced more inlet bases from over-tightened ferrules than from any other cause. Use a proper wrench, not pliers, and replace ferrules every time you cut and reinstall a column.
Manufacturer guidance is worth keeping on the bench wall. The Agilent GC columns and accessories documentation covers inlet maintenance intervals in detail, and Restek technical resources have good notes on liner selection for active analytes.
Failure 3: mobile phase and buffer preparation errors
I have seen more method failures from a mis-made buffer than from any single piece of hardware. It is also the easiest failure to prevent with written procedures.
pH drift and buffer capacity
A phosphate buffer at pH 6.8 has good capacity if you prepare it at the right concentration (20 to 50 mM is typical for HPLC). At 5 mM, the same buffer has almost no capacity and the pH will drift by 0.3 to 0.5 units over a day, shifting retention times and changing selectivity. If your retention times drift by more than 2% across a sequence, check the buffer first.
Filtration and degassing
Mobile phase should be filtered through a 0.22 µm membrane, not 0.45 µm, if you are running UHPLC or narrow-bore columns. Particles at 0.45 µm will pass into a 2.1 mm column and block the inlet frit. Degas with helium sparging or vacuum, and remember that an inline degasser on the pump is not a substitute for preparing degassed solvent. Dissolved oxygen causes baseline noise and, in fluorescence detection, significant quenching.
Buffer and column compatibility
Never leave a silica column in a high-pH phosphate buffer overnight. Above pH 7, silica dissolves, and you will see a void at the column inlet within weeks. If you must run at pH 8 or above, use a hybrid or polymer column rated for that range. Flush with 10 to 20 column volumes of low-organic aqueous buffer before storage, then switch to the storage solvent specified by the manufacturer.
Failure 4: sample preparation and matrix effects
Sample prep failures are insidious because they often pass system suitability and only show up as biased results on real samples.
Incomplete extraction and recovery drift
For solid-phase extraction, recovery drift usually comes from column drying. If the sorbent bed dries out between conditioning and loading, recovery can drop by 20 to 40% and become irreproducible. Keep the bed wet at every step, and never let the solvent level fall below the top frit. For liquid-liquid extraction, emulsion formation is the classic problem. Salting out with 5 to 10% NaCl and centrifuging at 3,000 to 4,000 × g for 5 minutes resolves most emulsions without adding a demulsifier.
Internal standard choice
An internal standard that elutes far from the analyte and has different ionization behavior will not correct for matrix effects in LC-MS/MS. Choose a stable-isotope-labeled analog of the analyte where possible. If you cannot, at least match the retention time within 0.2 minutes and check the matrix effect factor (post-extraction spike response divided by neat standard response). A factor outside 0.8 to 1.2 means you have a suppression or enhancement problem worth fixing before you report data.
Failure 5: detector and lamp drift
Detectors are usually the last thing to fail and the first thing blamed. But there are real drift mechanisms worth tracking.
UV lamp aging
A deuterium lamp loses intensity gradually. Most manufacturers rate lamps for 2,000 hours, and I recommend replacing at 1,500 to 1,800 hours for methods that need low detection limits. Track lamp hours in the instrument log. A lamp at 2,500 hours will still run, but baseline noise doubles and your limit of detection quietly degrades.
Flow cell contamination
UV flow cells collect precipitate from buffers and sample residue. If baseline noise rises and you see a slow drift, flush the cell with 50% methanol followed by water, then dry with nitrogen. Do not use strong acid in a standard flow cell unless the manufacturer permits it; the windows are usually fused silica and will etch.
MS source contamination
In LC-MS, a dirty source shows up as declining sensitivity over a sequence and increasing variability. Clean the source when sensitivity drops by 30% from the last clean baseline. Keep a log of source cleaning dates and the sensitivity at each clean. That log will tell you whether the problem is contamination or a failing capillary.
Failure 6: calibration and system suitability gaps
Many labs calibrate once and then run for weeks. That works until it does not. The failures I see here are procedural, not instrumental.
- Calibration range: cover 0.5× to 2× your expected sample concentration, and include at least 5 to 6 levels. A three-point curve is not enough for regulated work.
- Weighting: use 1/x or 1/x² weighting when the range spans more than one order of magnitude. Unweighted linear regression over a wide range biases low-concentration results.
- System suitability: track tailing factor (≤2.0), resolution (≥1.5), and RSD (≤2.0% for n=6). If any of these drift toward the limit across a sequence, stop and investigate before reporting.
- Carryover: check a blank after the highest standard. Carryover above 0.1% of the high standard response will bias low-level samples.
For regulated work, the U.S. EPA SW-846 test methods give a useful reference for method validation and quality control expectations, even if you are not running environmental samples. The QC structure transfers well.
Failure 7: environmental and facility issues
These are the ones nobody puts in the SOP, and they cause a surprising number of failures.
Laboratory temperature and humidity
HPLC retention times shift with column temperature, and room temperature changes of 3 to 5 °C across a day will show up as retention drift if the column oven is not well controlled. Set the column oven to ±0.5 °C and keep the lab between 18 and 25 °C. For GC, ambient temperature changes affect inlet pressure regulation less, but they still matter for detector stability.
Gas supply and purity
Carrier gas should be 99.999% purity or better for GC-MS, and 99.9995% for trace work. Install a gas purifier (oxygen and moisture traps) and replace the traps on schedule, not when they fail. A saturated oxygen trap will let oxygen into the column and degrade the stationary phase. I have seen a column lose 30% of its theoretical plates in three months because the trap was never changed.
Power and grounding
Instruments on shared circuits with centrifuges or ovens pick up electrical noise. If you see baseline spikes that correlate with another instrument starting up, get the instrument on a dedicated circuit or a UPS. Grounding faults also cause mysterious detector noise that disappears when you move the instrument to another bench.
Failure 8: documentation and training gaps
This is the least technical failure and the most common. A method that lives in one analyst’s head is one holiday away from failure.
- No written maintenance schedule. Liners, septa, frits, and lamps all have replacement intervals. Write them down and log them.
- No consumable part numbers. If the SOP says “use a C18 column” without a part number, you will get the wrong dimensions eventually.
- No change control. A new vial supplier or a different septum lot can shift results. Require a comparability check before switching.
- No training record. New analysts should demonstrate a full run, including system suitability, before running samples unsupervised.
If you are rebuilding a consumables inventory after a failure, the lab vials catalog is a good place to standardize vial and septum part numbers so the SOP matches what is actually on the shelf.
Troubleshooting checklist
When a run fails, work through this list in order. It is faster than guessing and it catches the common causes first.
- Check the vial and septum. Look for cores, particulate, and low liquid level. Replace and re-inject.
- Check the inlet (GC) or injector (LC). Liner injection count, septum age, ferrule tightness, and inlet pressure decay.
- Check the mobile phase. pH, filtration (0.22 µm), degassing, and buffer concentration.
- Check system suitability. Tailing factor, resolution, RSD, and retention time drift versus the last good run.
- Check the detector. Lamp hours, flow cell cleanliness, baseline noise, and source cleaning date.
- Check the environment. Room temperature, gas trap dates, and power quality.
- Check the documentation. Did anything change? Supplier, lot, analyst, method, or instrument?
Comparison: consumable choices that prevent failures
Here is a decision table I use when specifying consumables for a new method. The numbers are the ones I have found reliable in practice.
| Consumable | Low-cost option | Recommended option | Failure prevented |
|---|---|---|---|
| Autosampler septum | Standard silicone/PTFE, 8 to 12 punctures | Pre-slit silicone/PTFE, 20 to 30 punctures | Septum coring, particulate, rising back pressure |
| GC inlet liner | Undeactivated glass, 100 injections | Deactivated, silanized, 300 to 500 injections | Tailing peaks, low recovery for active analytes |
| Mobile phase filter | 0.45 µm membrane | 0.22 µm membrane | Column frit blockage, especially on 2.1 mm columns |
| Column ferrules | Reused graphite | New graphite each install, 1/8 to 1/4 turn past finger-tight | Leaks, cracked nuts, inlet base damage |
| Gas purifier | None or expired trap | Oxygen/moisture trap, replaced on schedule | Column stationary phase degradation |
| UV lamp | Run to 2,500+ hours | Replace at 1,500 to 1,800 hours | Baseline noise, degraded LOD |
That table is not about buying the most expensive option. It is about matching the consumable to the failure mode you cannot afford. For a research method with clean samples, the low-cost column may be fine. For a regulated QC method running hundreds of samples a week, the recommended options pay for themselves in avoided repeats.
Recommendation: build a failure-prevention routine
My recommendation is simple. Do not wait for failures to teach you the failure modes. Build a routine that prevents them.
- Log every consumable change with date, part number, lot, and injection count. A simple spreadsheet is enough.
- Set replacement intervals at 70% of the expected life. If a liner lasts 300 injections, change at 200. You get the benefit of the part before it fails.
- Run a system suitability check before every sequence, not just at the start of the day. It costs 15 minutes and catches most problems before they waste a batch.
- Keep a spare of every critical part on the shelf: one liner, one septum pack, one lamp, one set of ferrules. Waiting three days for a part is a failure mode of its own.
- Standardize part numbers across methods so analysts cannot substitute the wrong vial or column.
- Review the failure log monthly. If the same failure appears twice, the SOP is wrong, not the analyst.
For labs running multiple instruments, consider consolidating consumable suppliers so that part numbers, specifications, and certificates are consistent across the site. The Thermo Fisher chromatography and sample handling range is one reference point for cross-platform consumables if you need a single-source approach.
Takeaway
Most analytical testing failures in daily use are boring, repeatable, and preventable. A septum that cores after ten punctures, a liner that loses deactivation, a buffer at the wrong concentration, a lamp past its rated hours, a gas trap nobody changed. None of these are mysterious once you know them. The labs that run clean are not the ones with the newest instruments. They are the ones that log their consumables, change parts before they fail, and treat every repeat run as a signal worth investigating. If you take one thing from this article, make it the log. The data will tell you which failure mode is costing you the most, and that is where to spend your next consumable budget.
References & further reading
Related resources from our lab consumables network:
- Analytical Testing at testinganalytical.com
- Hplc Vial at vialforhplc.com
- Chromatography Consumables at chromatographyconsumables.com
- Lab Vials at labvials.com
External references and standards: